Posts
Modify Trailers for American Truck Simulator
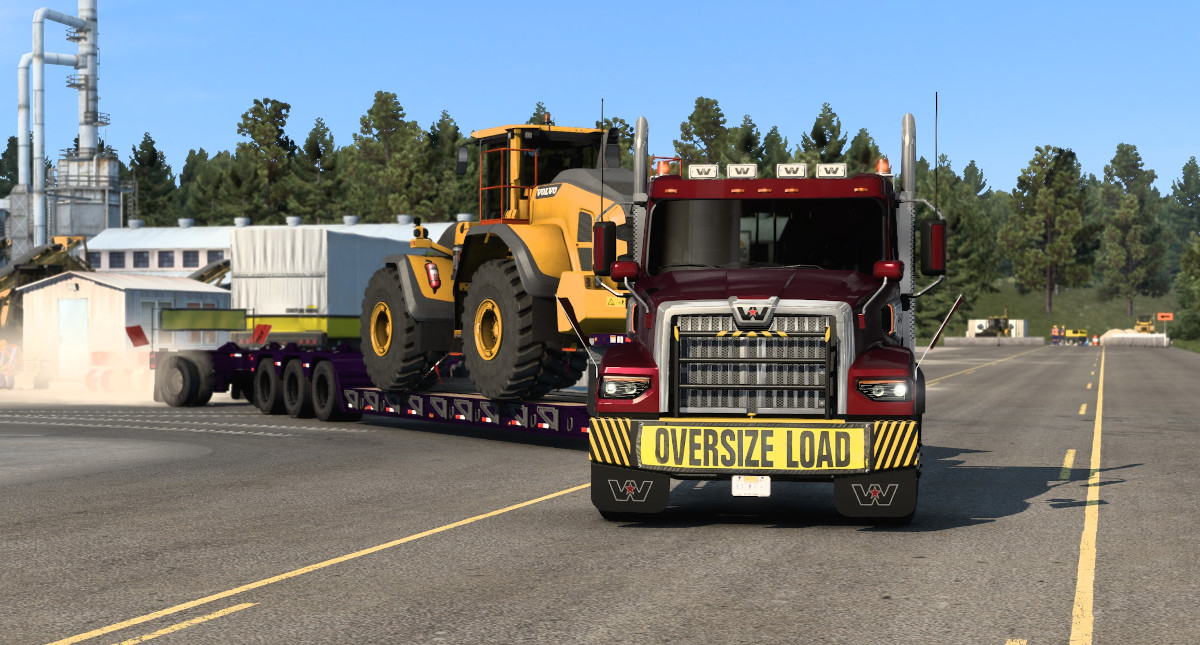
In American Truck Simulator I noticed the single tridem lowboy seemed limited with the same cargo availability as the tandem trailer. From the Volvo Construction Equipment pack even the Volvo A25G was unavailable to haul on the single tridem lowboy (prior to game version 1.47). After looking at the game files I realized the tridem allowed a higher weight-limit than the tandem and that Volvo A25G missed this weight-limit by only 358 pounds! Also the single lowboy trailers had about the same cargo weight limitations as flatbed trailers. I wanted to haul heavier cargos on a single trailer, so I started looking at real-world examples and rules for inspiration.
I created my “Heavy-Haul Trailers Adjustments” modification for my personal enjoyment. In this post I share my goals and assumptions, some observations, show how to alter trailer weight, how to adjust weight limit, how to add a new configuration, and how to maintain the mod. No new assets added. You may download my file to review as an example or use in your game.
You may direct your questions or comments by email or on Discord - DracoTorre Mods.
mod updates: Sleep Intimate, Werewolf Time Meter
Sleep Intimate for Fallout 4 update v2.79 all versions:
- new preference setting for backpack: placed custom pack uses (Green bag / itself)
- improved health recover calculation so Fast-Wait-Skip results the same as slower sleep speeds
- recognizes bags and packs from “We Are the Minutemen”
- recognizes purse from “Pornstar Fashion” by Deserter X
Backpacks without a ground object model use a green bag instead, but if your custom pack includes the ground object change the setting to itself so the real pack will appear on the ground when sleeping or sitting.
additionally for XB1 and PC on Bethesda.net:
- (v2.78) recognizes “Heather Casdin” V2 by llamaRCA custom romance
R-X only:
- updated for Savage Cabbage’s Animations 1.2.8 - 3 extended scenes
- Atomic Lust Power Armor Repair Station may get intimate without requiring other animation packs
- fixed animation alignment on Hozsa’s “Easy Homebuilder” beds
For download links and more information see Sleep Intimate - XOXO page or Sleep Intimate - R page.
Continue reading...
Sleep Intimate Update 2.78
Sleep Intimate for Fallout 4 update v2.78.1 for PC:
- recognizes “Heather Casdin” V2 by llamaRCA custom romance – works like original Heather
- potential error correction for missing settings holotape
- (XOXO from v2.75) improved optional undress-weapon for players using holstered weapon mods
Sleep Intimate Update 2.77
Sleep Intimate - R for Fallout 4 has been updated to version 2.77 for PC
- added new scenes from Savage Cabbage’s animations 1.2.7 - Locker (Door Scenes), sleeping bag (doggy-style), ground mattress
- additional animation stages for jail, FMM-standing SC 1.2.7
- fix: player-character getting pushed out of alignment by 2nd lover in standing scenes with orbit-view (error introduced in v2.70)
- fix: when using Leito’s 2.1 without Savage Cabbage’s pack for chair Relax+ as naked player-character now shows chair menu instead of bed menu
Sleep Intimate Mod Update 2.76
Sleep Intimate - R for Fallout 4 has been updated to version 2.76 for PC
- recognizes DX “Red Ribbon” outfit by Deserter X, candy cane as backpack supporting ground model, choker provides sex appeal bonus
- added support for Lupine and Amelia races – works like Vulpine (untested)
For more information and download links see Sleep Intimate - R page, or review 2.75 changes improving AAF in previous post.